Friday, 23 December 2011

Last minute Christmas treats/gifts - Chocolate Coins


A quick treat to share with friends and family this Christmas.


It's the easiest nibble to whip up for any unexpected guests or as a last minute (cheap) present.


This is so simple that it requires no recipe and no amounts... but here is the method, such as it is.


Simply melt some chocolate (preferably 2 different colours to achieve a ripple effect). Use the best that you can afford. Allow it to cool slightly.


Then take a desert spoonful and drop this onto baking parchment. Allow it to spread out slightly into an even circle (2 bars of chocolate made around 20 coins). Now it's ready for you to add whatever flavour combinations you fancy.


I added a tiny dusting of cinnamon and salt and some chopped dried cranberries. Just make sure that you work fairly quickly as you need to add the flavours while it's still soft.


Then just place them in the fridge for 30 minutes. Once they're set carefully peel them off the paper and they are ready to eat!

Happy Christmas and a very yummy New Year!
x

Saturday, 26 November 2011

Pretzels - a simple recipe


When a colleague of mine turned 50 recently, we decided to each make and bring a dish for her Birthday tea that we knew to be one of her favourites. I quickly added my name to the list next to 'pretzels' as I have always fancied having a go at making them. 

However, when you look for a good but simple recipe you find words like 'pate fermente', 'goggles', 'solution of water and lye' etc. I don't think so.

So, after some experimentation here is the simplest recipe that I found and altered that works well. It produces soft, shiny, golden, salty pretzels.

Makes 12 large pretzels
2 teaspoons instant yeast/1 sachet
2 tablespoons brown sugar
375g  white bread flour
2 teaspoons salt
500ml warm milk

Preheat the oven to 200°C.
Warm the milk and add the yeast to activate it (the milk must not be hot, just warm).
Put all the dry ingredients into a bowl but leave about a third of the flour out to one side. 

Mix in the milk and yeast until it makes a kind of thick batter.
Then add the rest of the flour a little at a time until you make a ball of dough that you can knead. You may not need to use it all.

Knead the dough for 10 minutes until it becomes springy. Cover the bowl with clingfilm and leave for 1 hour in a warm place until it has almost doubled in size.
After that, knead briefly and then you are ready to roll it out.

Divide the dough into 12 equal(ish) pieces. Roll each piece out into a sausage shape. To begin with this might be quite tricky because the dough might keep springing back. If this happens, roll them out as far as they'll go, leave them for 5 minutes and then when you come back to them they will have relaxed and should be easier to roll. 

(NB. I thought that mine were thin enough but they puff up a lot when they cook, so try to keep them fairly thin).
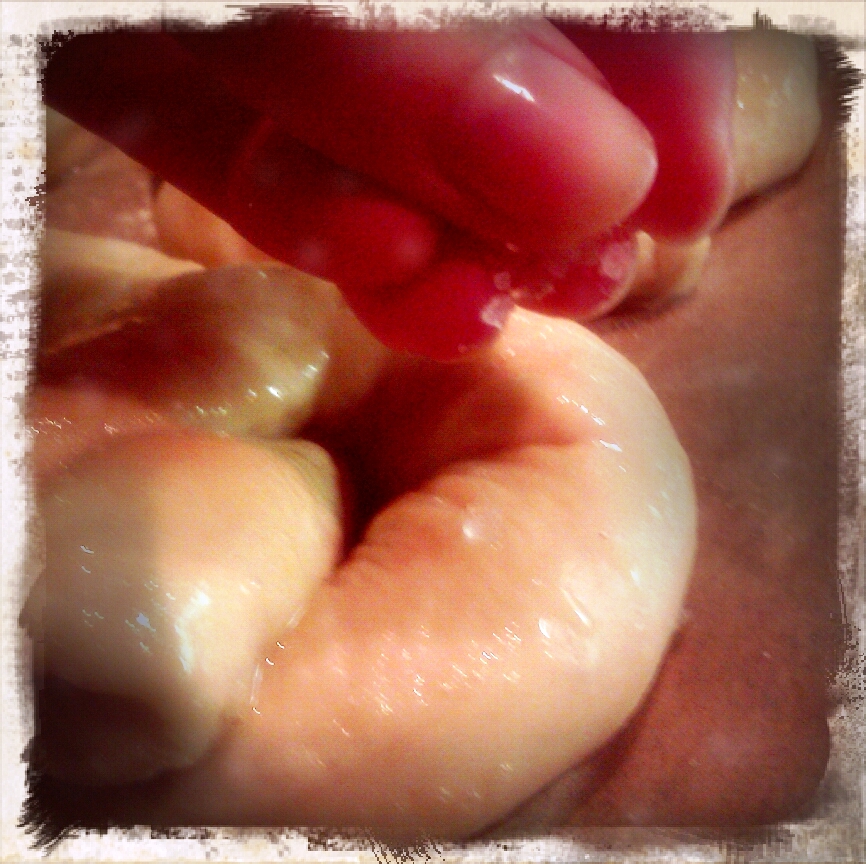
Take one piece at a time and lay it out in front of you. Then take hold of both ends, take them upwards and cross them over  - as in the picture.
Then, hold the dough where it crosses over and pull the top section down until it just overlaps the bottom of the loop.


(This all sounds a lot more complicated than it really is. Once you've had a go and finish the first one, the rest are easy.)
Once you have shaped them, place them on a lightly floured baking tray covered with baking parchment.


Here comes the weird bit. Next, you need to boil each pretzel!
I know. But if you dont, they will come out like crusty bread. The boiling creates the glossy, soft bagel-like crust.
Take one at a time and place into gently boiling water. It's a good idea to put each pretzel on a fish slice/spatula so that they don't break up. Dunk each one into the water for only 5seconds each and then return them to the baking tray.


Beat one egg.. 


and brush a little all over each boiled pretzel.

        
Sprinkle each with some rock salt. 
Place in the oven for around 15minutes but keep an eye on them and take them out when they look golden brown.
Eat immediately with good butter and a little mustard.
I had never made these before and was really pleased with the result. They tasted good and although it sounded complicated, this version of the recipe makes it as easy as possible. Now that I've had a go it wouldn't be difficult at all a second time around. As you can see, mine look rather too fat! So, next time I shall attempt to roll them out a little thinner. 
These are well worth a try - they don't keep very well but that didn't matter as they were all eaten within two days. Success!


P.S. Don't forget to serve these with some good beer.

Monday, 14 November 2011

Mojito Chicken!

Mojito: Traditionally, a Mojito is made of five ingredients: white rum, brown sugar, lime juice, sparkling water and mint. 


One of the happiest things to be served sitting at the bar for me, is a fresh ice cold mojito. I had just such a happy moment last week @Jamie's Italian, yum. Our dinner there was lovely and I had spatchcoc chicken. This evening of bliss got me thinking... roast chicken recipes tend to work best when the chicken is kept moist and with three key flavour elements: citrus, slight sweetness and something happily alcoholic and fresh to deglaze the pan and create scrumptious gravy.
Sadly, when I got home (and googled it) I found that others had already had my idea. However, none of them seemed to go further than adding a bit of mint and lime to chicken. So...


call me crazy but I'm about to attempt a truly mojito flavoured roast chicken!


You'll need:
1 whole chicken (I used a 1.5kg bird), large of sprig mint, 4 limes, brown sugar, rum, 1 large onion, butter, salt and pepper.


Firstly, cut off any string from the chicken. Cut up 2 limes into quarters and place them inside the chicken cavity.
Next, take 2 heaped spoons of softened butter and mix in the zest of 1 lime. Finely chop a small bunch of mint and mix that in too. Season with plenty of salt and a little pepper.


Mix that altogether. When it is a paste-like consistency, it is ready to put under the chicken's skin. This will keep the chicken really moist and will infuse it with the lovely flavours. Make sure you push the butter all over, underneath the skin.


Cut the onion into large chunks and place in the roasting tin. Place the chicken on top and drizzle on a little oil. The chicken is now ready to cook (further flavours will be added at a later stage but if added now the chicken is likely to burn). Place chicken in the oven and cook as normal (depending on size).


20 minutes before the end of cooking time....


Mix together: 4 tsp brown sugar, 2 shots rum!, 1 shot water, salt and pepper, a good glug of oil, the zest and juice of 1 lime.


Pour this over the chicken and put it back in the oven. Cook for a further 20 minutes basting every 5 mins. 


Once the chicken is properly cooked through and looks golden brown, remove from the oven and from the pan - leave to rest.
Meanwhile... 
Deglaze the pan with a little more rum and add a little flour to thicken. Cook the juices until they thicken slightly to create your gravy. Yum!
Serve with some roast potatoes and a mint, onion and tomato salsa salad. 


The result... well, considering this was a slightly odd idea I think it works really well! Althought the flavours in a mojito are rather strong, the flavours at the end of this recipe were subtle and I think it worked really well!
Sometimes it pays to experiment. :-)