Showing posts with label recipe. Show all posts

Monday, 14 November 2011

Mojito Chicken!

Mojito: Traditionally, a Mojito is made of five ingredients: white rum, brown sugarlime juicesparkling water and mint


One of the happiest things to be served sitting at the bar for me, is a fresh ice cold mojito. I had just such a happy moment last week @Jamie's Italian, yum. Our dinner there was lovely and I had spatchcoc chicken. This evening of bliss got me thinking... roast chicken recipes tend to work best when the chicken is kept moist and with three key flavour elements: citrus, slight sweetness and something happily alcoholic and fresh to deglaze the pan and create scrumptious gravy.
Sadly, when I got home (and googled it) I found that others had already had my idea. However, none of them seemed to go further than adding a bit of mint and lime to chicken. So...


call me crazy but I'm about to attempt a truly mojito flavoured roast chicken!


You'll need:
1 whole chicken (I used a 1.5kg bird), large of sprig mint, 4 limes, brown sugar, rum, 1 large onion, butter, salt and pepper.


Firstly, cut off any string from the chicken. Cut up 2 limes into quarters and place them inside the chicken cavity.
Next, take 2 heaped spoons of softened butter and mix in the zest of 1 lime. Finely chop a small bunch of mint and mix that in too. Season with plenty of salt and a little pepper.


Mix that altogether. When it is a paste-like consistency, it is ready to put under the chicken's skin. This will keep the chicken really moist and will infuse it with the lovely flavours. Make sure you push the butter all over, underneath the skin.


Cut the onion into large chunks and place in the roasting tin. Place the chicken on top and drizzle on a little oil. The chicken is now ready to cook (further flavours will be added at a later stage but if added now the chicken is likely to burn). Place chicken in the oven and cook as normal (depending on size).


20 minutes before the end of cooking time....


Mix together: 4 tsp brown sugar, 2 shots rum!, 1 shot water, salt and pepper, a good glug of oil, the zest and juice of 1 lime.


Pour this over the chicken and put it back in the oven. Cook for a further 20 minutes basting every 5 mins. 


Once the chicken is properly cooked through and looks golden brown, remove from the oven and from the pan - leave to rest.
Meanwhile... 
Deglaze the pan with a little more rum and add a little flour to thicken. Cook the juices until they thicken slightly to create your gravy. Yum!
Serve with some roast potatoes and a mint, onion and tomato salsa salad. 


The result... well, considering this was a slightly odd idea I think it works really well! Althought the flavours in a mojito are rather strong, the flavours at the end of this recipe were subtle and I think it worked really well!
Sometimes it pays to experiment. :-)

Friday, 11 November 2011

The Ultimate time-saving Chocolate Cake (with the perfect Chocolate Frosting)

I have eaten more than my fair share of chocolate cake over the years. I love to cook them almost as much as I like to eat them. Here's my check list for the perfect chocolate cake:
  • it must taste of chocolate - not cocoa
  • it must be moist
  • it must not be too flat
  • soft chocolate icing, not bitter and hard icing
  • it must be easy and quick to make
  • it must make people smile
So, after much experimentation I have found what, for me, is the ultimate chocolate cake and icing recipe combo.


My favourite cake recipe is by Nigella Lawson but I have altered the recipe slightly (due to personal taste and the need to make it as easy as possible using things you are more likely to actually have in your fridge).

Using 25cm tins x2. This will serve 8-10 people:

300g plain flour
300g caster sugar
1 1/2 teaspoon baking powder
1 teaspoon bicarbonate of soda
60g best-quality cocoa
260g soft unsalted butter
3 large eggs
2 teaspoons real vanilla extract
225ml sour cream
200ml natural yoghurt
25-50ml milk (start with 25ml and add the extra if the mixture looks too thick)

Here's the good part. I have tried the recipe the hard way (i.e. "cream together the butter and sugar, then...") and I have tried it the easy way (i.e. bung it all in together) and here's what I discovered

IT MAKES NO DIFFERENCE!
None at all.

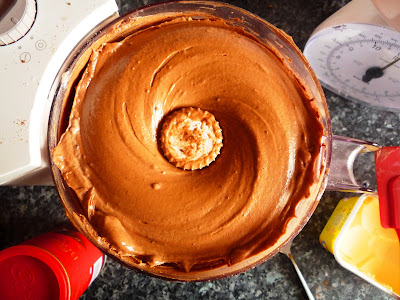
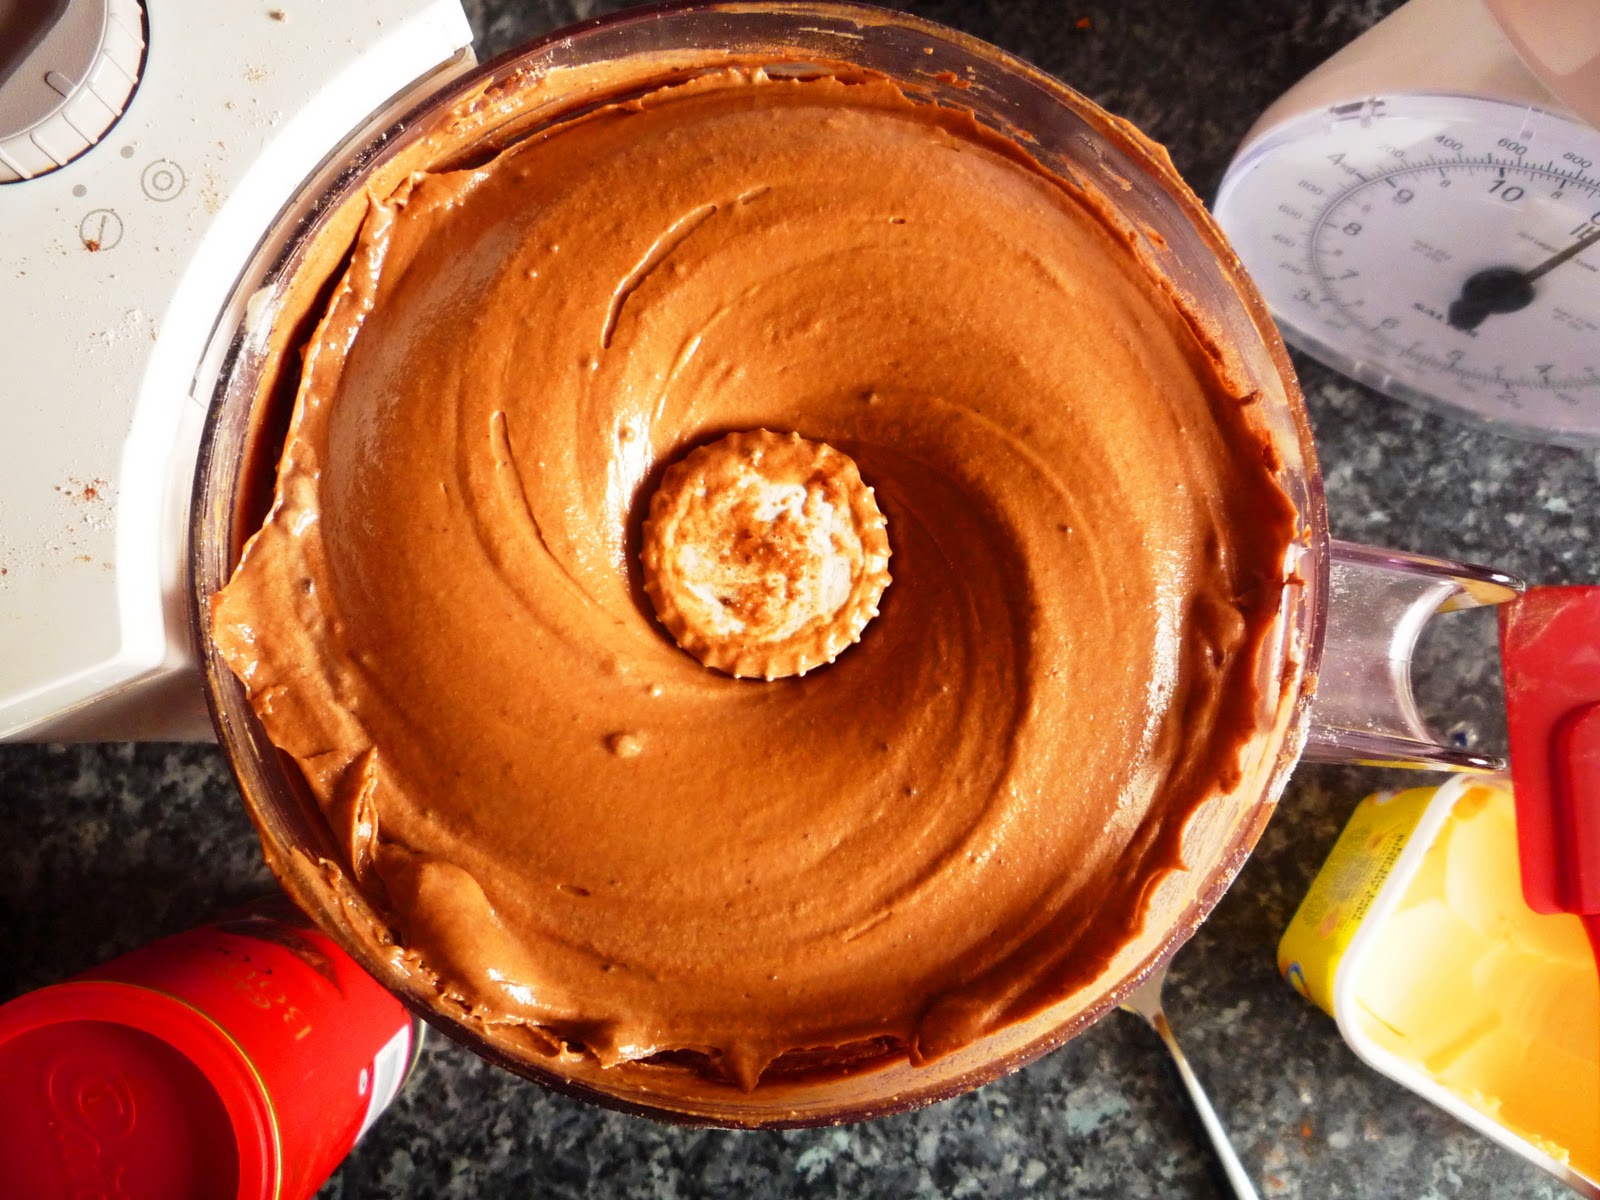
So, carefully measure out the ingredients. Put all the ingredients into a blender or food mixer together, and blitz! Just make sure that you don't over mix it. Turn off the mixer as soon as everything looks well combined. The mixture should be quite loose.

Bake at 180°C  for around 30 minutes (but keep checking).

Once your cake is perfectly cooked, leave them to cool in the tins for about 5 minutes and then turn out to cool completely. The cake should be very springy and light.

If you have time and would like to ice your cake too...

The best icing recipe I have found to go with this kind of cake does not come from Ms Lawson. I prefer Lorraine Pascale's chocolate frosting. It is simpler and more tasty in my opinion.

Beat 300g butter and 225g icing sugar together. Then mix in 150g melted and cooled dark chocolate. This should make gorgeous, soft, buttery icing that is easy to use.

Use about a third of this in the middle.

Then use a knife or palette knife to smooth the remaining icing all over the outside of the cake.


And there you have it. This is the fastest and tastiest chocolate cake that I can make! 
I challenge you to find a faster one!
...and if you do, I'd love to steal the recipe :-)

Sunday, 17 April 2011

One-a-penny, Two-a-Penny, Making Hot Crossed Buns

Hot cross buns
"The most popular English Easter bread is the hot cross bun..." 
Oxford Companion to Food
, Alan Davidson

I adore these traditional cakes - the smell alone is reason enough to eat or make them! They are traditionally eaten on Good Friday with their sugary surface marked with a cross to symbolize The Crucifixion. Apparently, if you hang a hot cross bun in the house on this day it offers protection from bad luck in the coming year!

I had never made these before (but have eaten many) and was curious to find out how to make them and to see if they taste even better home made than they do from the shops. 
I used a recipe from the BBC website which seemed traditional and simple.

Now for a little warning. I assumed that, like bread, these buns would need some rising time. They do. I started this recipe mid evening and made the mistake of not looking at the preparation time - "over 2 hours"! However, they were fun to make and made the house smell amazing!

My hot cross buns straight from the oven.

The finishing touches of the crosses and glaze were especially satisfying - making them glisten. Mine were not as fluffy as the ones I normally buy from the supermarket, but they definitely had a more complex and delicate flavour. They were best toasted.

As they go stale quickly, you should either eat them all quickly (2/3 days) or store some in the freezer until needed. They can then be thawed out and reheated in the oven before serving. 
Apart from taking the time to allow the dough to rise properly, the way to ensure good results is to buy the best quality raisins/dried fruit that you can. 


Serve with Earl Grey Tea and spread with lots of butter 
for a very Good, Friday.


Sunday, 3 April 2011

Making Samosas

Samosas - savoury patties from Indian cuisine are a fantastic as a snack, starter or part of a main meal. The only downside is that they can be very greasy (as they're deep fried) and are often soggy when not served fresh. 
I learned this recipe at a cooking course I've been attending. They are simple, less fatty without reducing the taste and a tasty snack to serve with a beer.
For the filling you will need:
50g butter
1 clove garlic
1 tbsp fresh ginger
1 tbsp cumin seeds
1 tbsp ground coriander
2 tbsp garam masala
1 tbsp turmeric
1 tsp chilli powder
2 finely chopped potatoes
1 diced onion
1 diced carrot
200g frozen peas


Ok, so there's quite a few ingredients. The good news is that all you need to do is put all of these ingredients in a pan (melt the butter first) and cook for 1 minute. After that time just add 150ml water. Leave the mixture to simmer for around 15 minutes - until the mixture has thickened and the vegetables are soft and cooked through. Leave to cool slightly.


Next, the pastry. This recipe calls for Filo Pastry. Making this pastry is simply not an option! To make it well you really need specialist machinery. Just buy it ready made. Take one sheet and lightly brush with melted butter (this helps to keep it supple as filo dries out in minutes). 


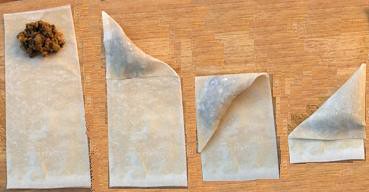
Use a very sharp knife and cut the pastry into 3 strips (the recipe says 4 strips, but I found that this made 
them too small and fiddly). Spoon some of the mixture on to on one of the strips. Fold the corner to make a triangle shape. Keep folding the pastry in triangles until you get to the bottom. Brush the last fold of pastry with melted butter to help it stick to the samosa.


This technique takes a little practice and I had a few odd shapes! To make the perfect samosa, you just need to work slowly and carefully. Make sure each fold gives you a clean triangle shape. It is actually a very therapeutic job and easy enough once you get the hang of it.
Brush all over with butter and bake for 15mins, or until golden brown at around 180 deg.


The results: 
They made perfect samosas! Very crispy, fresh tasting and lightly spiced.
However, they did not last well. Putting them in the fridge or covering with clingfilm makes them go soggy as the pastry is so thin. I'd recommend cooking them just before you want to serve them. 
I'll definitely be making them again - if for no other reason that, served with a cold beer, they make my boyfriend a happy chappy! 

Saturday, 2 April 2011

Baking Traditional Chocolate Cake

The recipe can be found at: www.nigella.com/recipes/view/old-fashioned-chocolate-cake-119


The genius of this recipe is that all you have to do is measure everything out, put it in a blender and mix until smooth-fantastically simple.
It makes a gorgeously rich and smooth mixture that makes you want to lick the bowl clean!


Spoon this mixture into 2 tins and bake as directed. I found that the cakes cooked slightly too quickly (going brown on top while still runny inside) so I turned the oven down slightly.

The cakes came out really well. Considering that I'd messed around with the recipe, I was pleasantly surprised. They were moist and smelled amazing.
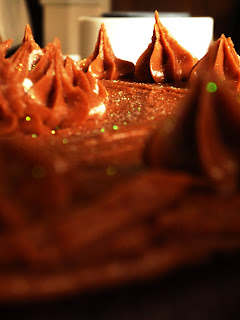
I bought a piping bag this morning so I wanted to try and decorate the cake in a simple but better way that usual. I have absolutely no icing skills but I thought that simple swirls would be manageable! I made a simple butter icing but made it rich and chocolatey by replacing some of the icing sugar for cocoa and adding a small drizzle of cream. 1/3 went in the middle of the cake and most of the rest of the icing was spread on top using a palette knife. Then I had a good go at decorating the top with swirls and actually it wasn't too difficult! It looked more professional than I thought and was quite simple. Finally, I added a tiny amount of edible glitter - for no other reason than I fancied making it girly!


Taste Test! 


Well, I couldn't have hoped that it'd taste as good as my Mum's cake. But I tell you what, it came a good second! I highly recommend this recipe. It is simple and fantastic, especially if you don't have much time. I suspect that it is reliable too, as it came out so well even after I had messed around with the ingredients. 


My friends agree, this is a winner - simple, sumptuous and all round sensational! You need this cake in your life!
  
Happy Mothers Day Everyone!