Tuesday, 23 August 2011

Fastest cake in the West? ...Scone!

(Apologies first of all for the title. I have a fiancĂ© fond of 'jokes'!) x

Home for the summer at my parent's house in a quiet sleepy village in Yorkshire, there has been very little call for cooking as the restaurant of Mum/Dad is always in operation. :-)
Yet I could not let the summer pass me by without eating at least one really good scone.


That is not to say that other people do not make a decent scone! Far from it. But honestly, the way to get a good scone is to simply bake them yourself. Scones can be very dry and very boring but they will never be either if eaten soon after they come out of the oven!


My Grandmother does the ultimate summer tea with sandwiches, boiled eggs, salad and cakes. This yumminess is never complete without heaps of golden scones. Or is it scOnes?


"I asked the maid in dulcet tone
To order me a buttered scone
The silly girl has been and gone
And ordered me a buttered scone."


This recipe comes from a VERY old and frankly now disgusting cookbook that belongs to my mum. But the disgustingness of the book merely shows how well used it is - do not judge this book by its greasy and stained cover! Everything I ever made as a child came from that book. It's full of classics.


The recipe goes:

Mix a pinch of salt, 300g flour, 1 teaspoon baking powder and 75g cooking marg.
If using a machine, mix slowly until you get a 
breadcrumb consistency, or rub in the marg by hand.

Stir in 50g sugar.

Put 1 egg into a measuring jug and then add milk up to 125ml. Add this mixture but leave a tiny bit of it to one side.


Work the mixture into a soft dough.


Roll out to just over a centimetre thick (the recipe says 12mm but I say the fatter the better!)

Use a 5cm cutter


 Cut out the scones and place them on a lightly floured baking tray.


Brush the top of each with the remaining milk/egg. This will give the characteristic golden sheen. Cook in the oven @ 240°C for around 10 minutes but keep an eye on them as they sometimes take a little less time. Once they are risen and golden, you'll know that they're done.


Allow to cool, for as long as you can stand, and eat within 1/2 days.

 Serve with butter, jam and clotted cream for a real treat!
We tried ours with a rather fancy gooseberry and elderflower jam - delish.

Pinkies out - it's tea time!

Saturday, 6 August 2011

Making Chinese Dumplings

So, I woke up this morning feeling rough and fancied some broth and dumplings (my standard remedy). However, there was pretty much nothing in our cupboards and I really could not be bothered to visit the shops! Lazy? YES
So I've always assumed that making dumplings was very fiddly and needed lots of unusual ingredients but I 'googled it' just to see. I was surprised to find that they sounded very simple. We had everything in that I would need, so I had a go.
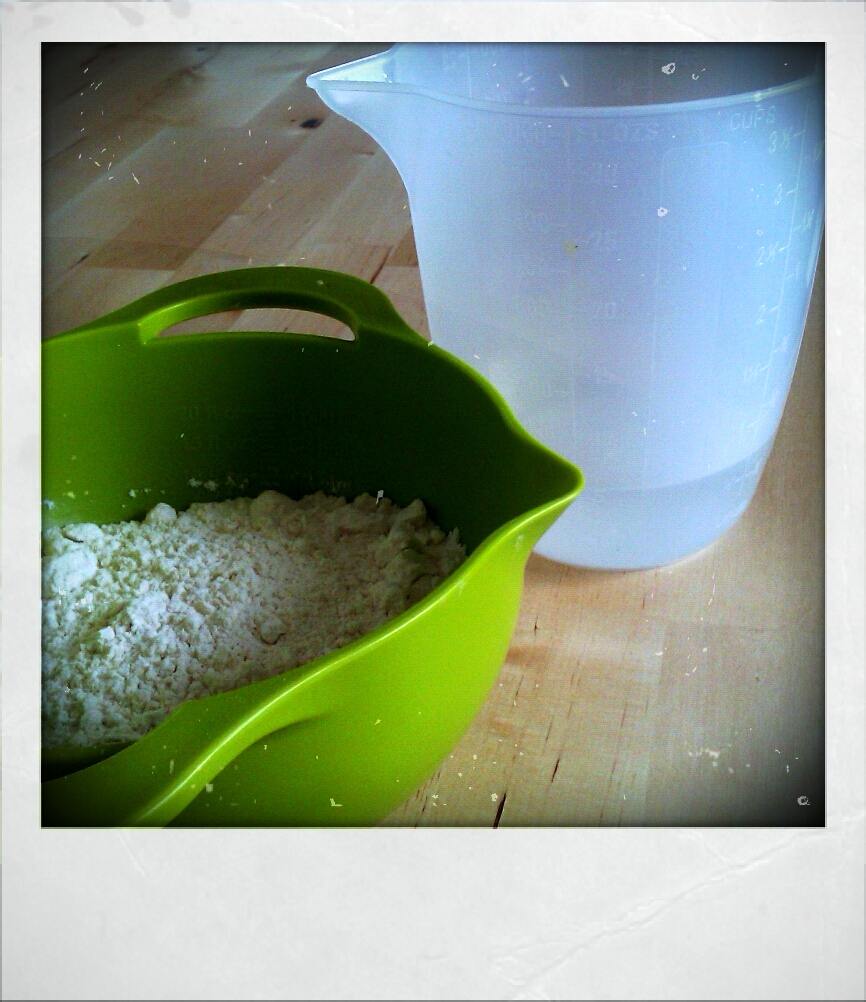
It turns out that all you need to make the dumpling wrappers, is plain flour and water - that's it!I used 200g flour as this makes enough for two people and I was feeling greedy! The amount of water wasn't specified as you just have to add small amounts until it gets to the right consistency.

 
Keep adding water until you get a non sticky dough.


Cover the dough and leave for 30minutes.


Knead for a few minutes.


Take small pieces of dough and roll them into balls. 
Then roll out into disks about 8cm wide and as thin as you can without them becoming too delicate.
Make sure you use flour to stop them sticking to surfaces.


Add a spoon of your filling.
Dip your finger in water and put a small amount of water around the edge of the disk.


Fold in half.


Pinch the edges together - it doesn't matter how. Make sure that there are no gaps.

These dumplings need to be cooked in salted water with a little oil. 
Cook them in small batches, otherwise they stick together. 
If you're cooking lots of them you'll need to change the water every now and again, otherwise the flour thickens the water. I cooked mine in the beef broth I'd made so they absorbed the flavours.


The verdict: they really are quite easy to make and I was happy with mine for a first attempt. I learned a few important lessons to remember next time.
  • make sure the corners/edges don't get too thick otherwise they get doughy once cooked
  • I made mine too big - 8cm disks would have been better
  • apparently, using some rice flour (150g plain flour & 50g rice flour) makes for a more fine texture
I enjoyed making these little dumplings, they tasted almost as good as the ones from the shop, they weren't too tricky and they were definitely a lot cheaper than buying them in. 


Happy faces all round.

Tuesday, 26 July 2011

Making Banana Cake - add a twist of your own creation.

I'm back after a break while I moved house and got engaged! 


Here is a staple in our house - Banana Bread.
I have several different recipes for banana bread. This one is my favourite because it is so so easy and so so so quick. All you do is measure out the ingredients, put them into a food processor, mix and bake. No folding in, no difficult steps, that's it.


We sometimes use it for breakfasts during the week as, once it's made it needs no prep time. For the breakfast version, I use wholemeal flour and add a teaspoon of baking soda to help the heavier mixture to rise. This makes it healthier and more filling.


So, the basic recipe is:
2 ripe bananas
170g caster sugar (brown sugar can be nicer though)
170g self raising flour
170g margarine
3 eggs
A few drops of vanilla essence


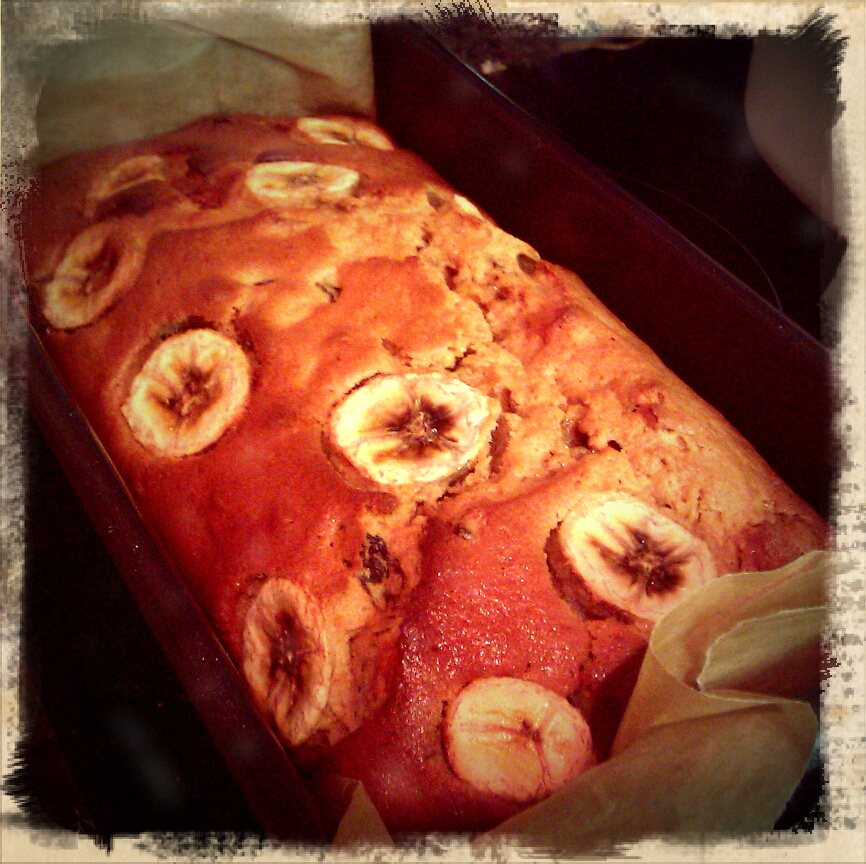
Yummy things to add: chocolate chips, dried apricots, raisins - your call. Whatever you put in,  make sure you save a small amount of the banana to slice and put on top, it looks good as well as tasting good!


This time, I decide on raisins and as a bit of a twist - I soaked them in Pimms first! This guarantees that the cake will be moist and also that it will be richer than usual. I find this recipe comes out differently but well every time. 
Give it a try! x